|
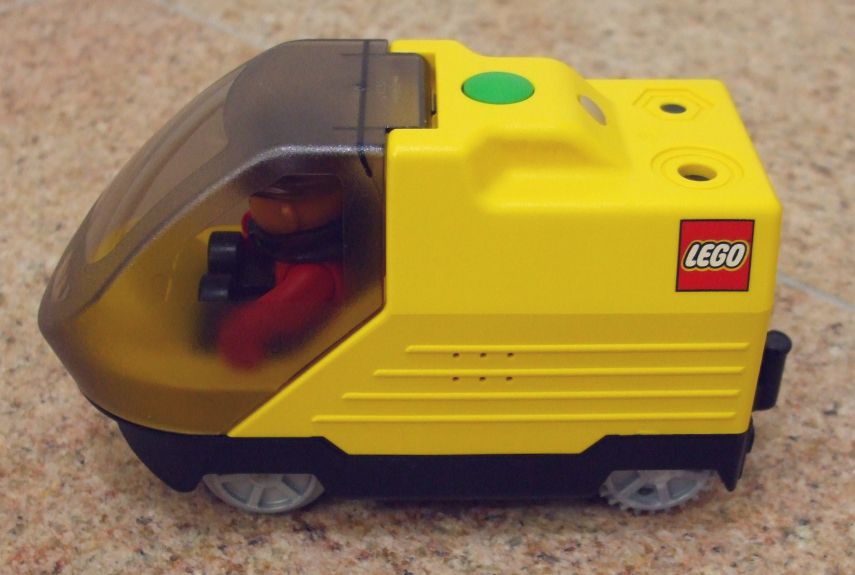
Falls Sie lieber jemand anderen schrauben lassen oder auch nur Ersatzteile benötigen, besuchen Sie Herrn Schreiters Eisenbahnreparaturwerkstatt. Falls Sie die ältere Lego Duplo Diesellok öffnen wollen, das stand früher mal hier auf dem Internet.
Als Betreiber dieser Website lehne ich die Verantwortung für externe Inhalte ausdrücklich ab.
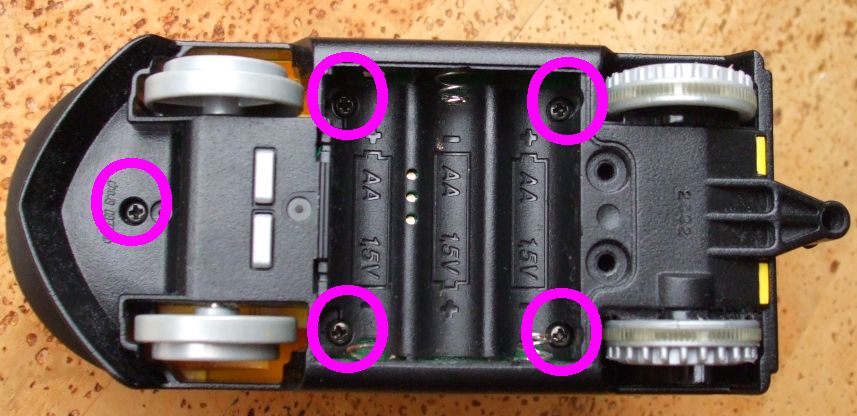
Schritt 1
|
In case you need spare parts or rather have someone else fix this for you, visit Mr Schreiter's repair shop. For those who want to open the older Lego Duplo diesel engine, there used to be an instruction here. Unfortunately, it's gone. No responsibility taken for outside links. Opinion of linked sites not necessarily shared.
Step 1
|
Schritt 2
|
Step 2
|
Schritt 3
|
Step 3
|
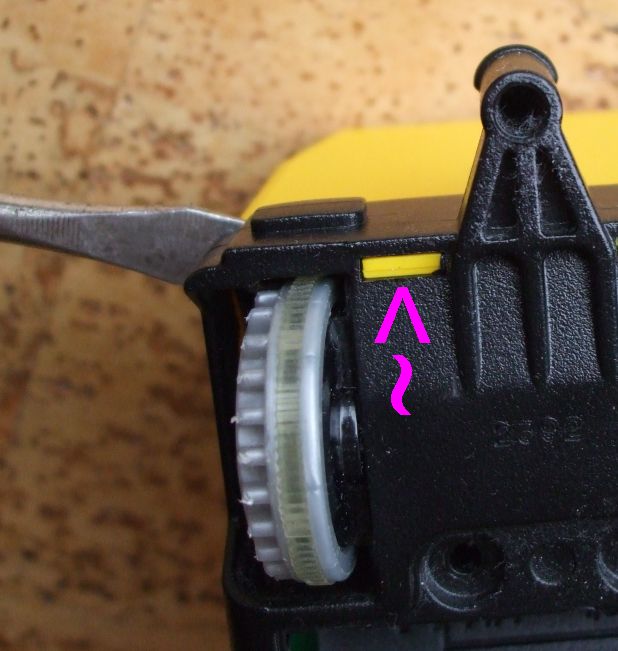
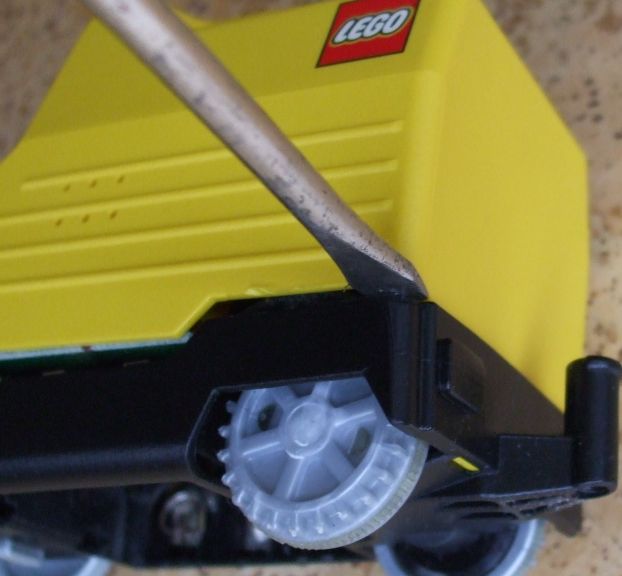
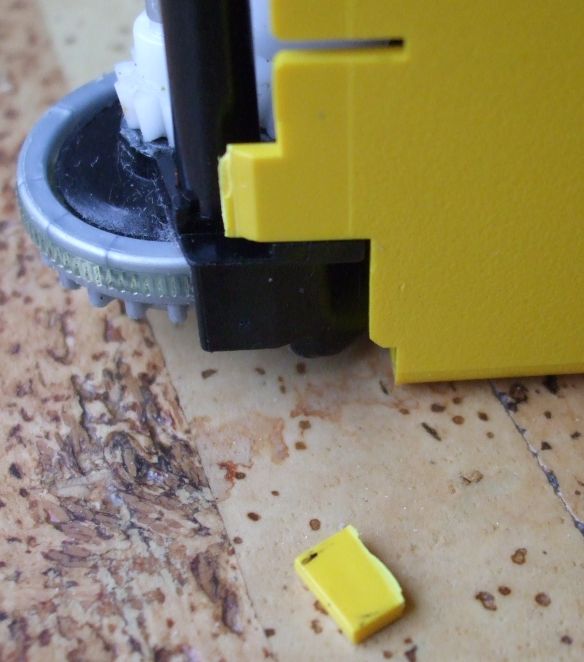
Schritt 4So sieht das danach aus. Wirklich viel Schaden ist nicht entstanden, die Lok hält auch ohne diese Laschen gut zusammen. Aber schöner wär's schon es ginge ohne die Laschen abzureißen.Folgende schonenden Methoden haben beim einen oder anderen schonmal geklappt:
|
Step 4We end up with torn off lugs, and though the engine holds together well without these, it would be nicer to keep the plastic part intact.Other users have been successful with less destructive methods, why not give them a try:
|
Schritt 5Ab jetzt keine Schrauben mehr, alles ist nur gesteckt. Einfach die Innereien aus dem Oberteil herausziehen. |
Step 5No more bolts from now on, just pull the mechanism with attached circuit boards from the top of the engine. |
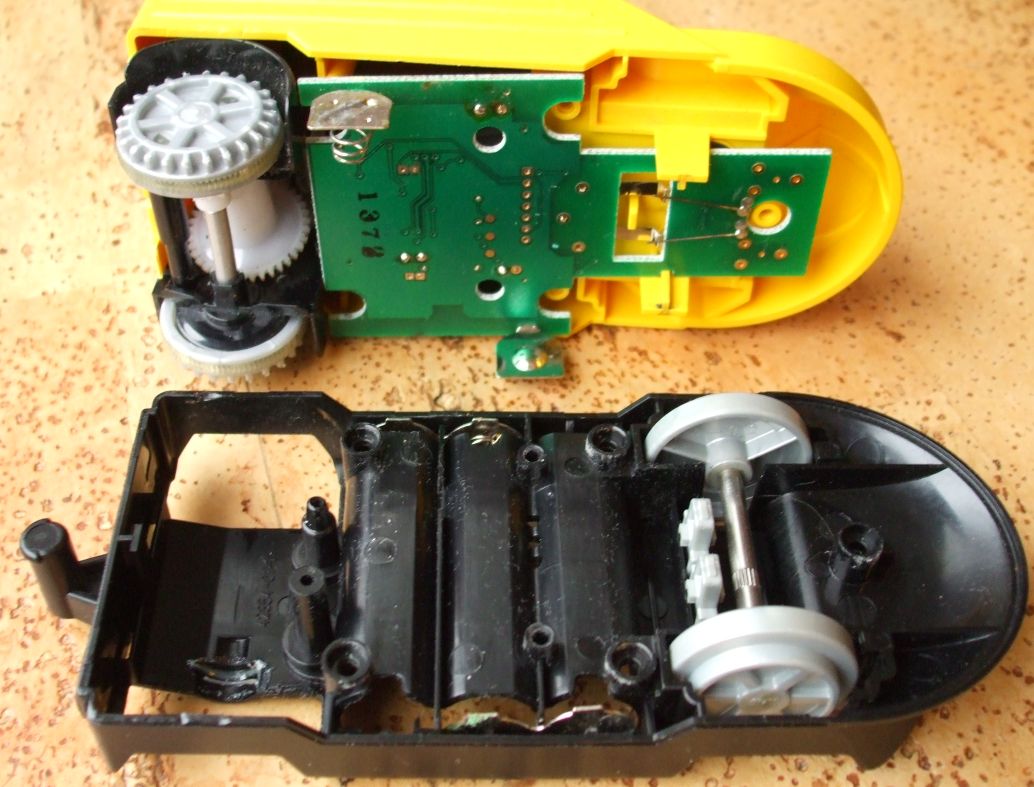
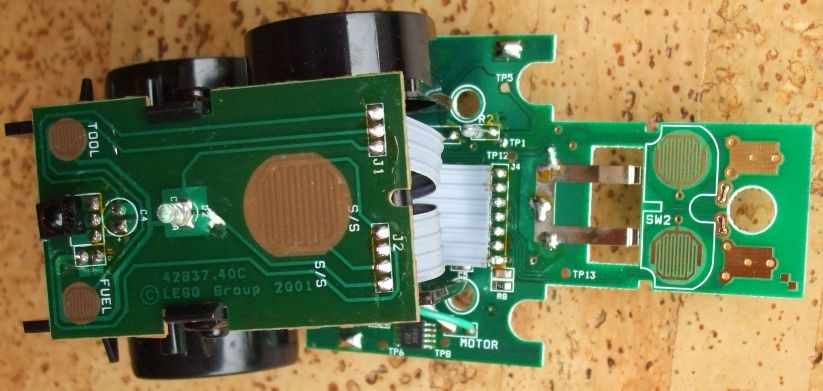
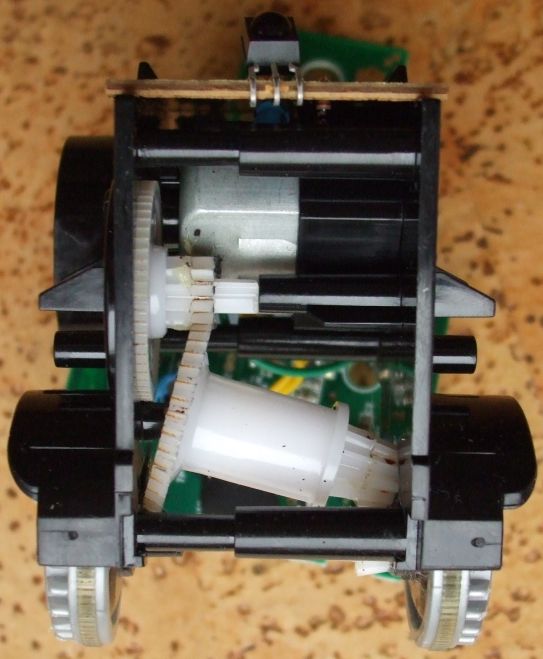
| Was da alles drin ist. Motor, Getriebe, Schalter, 2 Leiterplatten und reichlich Kabel. Nur keins abreissen ! Üblicherweise liegen die Probleme bei Batteriekontakten, Getriebe und Schaltern. |
Lots of stuff.. Motor, gears, switches, 2 circuit boards wired together. Careful. Typical problems involve the battery contacts, gears and switches. Broken cables / damage to the circuit board is usually a result of careless servicing. |


Schritt 6In umgekehrter Reihenfolge wieder zusammenbauen und ausprobieren |
Step 6Reassemble everything in reverse order and test it |